
Edible Pictures, Paper Magic: Elevate Every Slice
Step into a vibrant world where edible image transfers and wafer paper decorations transform simple cakes into unforgettable centerpieces. Today we explore techniques, tools, and artistic tricks that keep colors crisp, textures delicate, and every bite safe, delicious, and delightfully photogenic for celebrations that linger in memory long after the last crumb.
Materials, Tools, and Smart Prep
Confident results begin with understanding what you are holding in your hands and how it behaves under heat, humidity, and time. Learn why dedicated edible printers matter, how frosting sheets differ from wafer paper, and which glues, blades, and storage setups prevent smudges, curling, cracking, or sticky disasters when deadlines are close and cameras are ready.

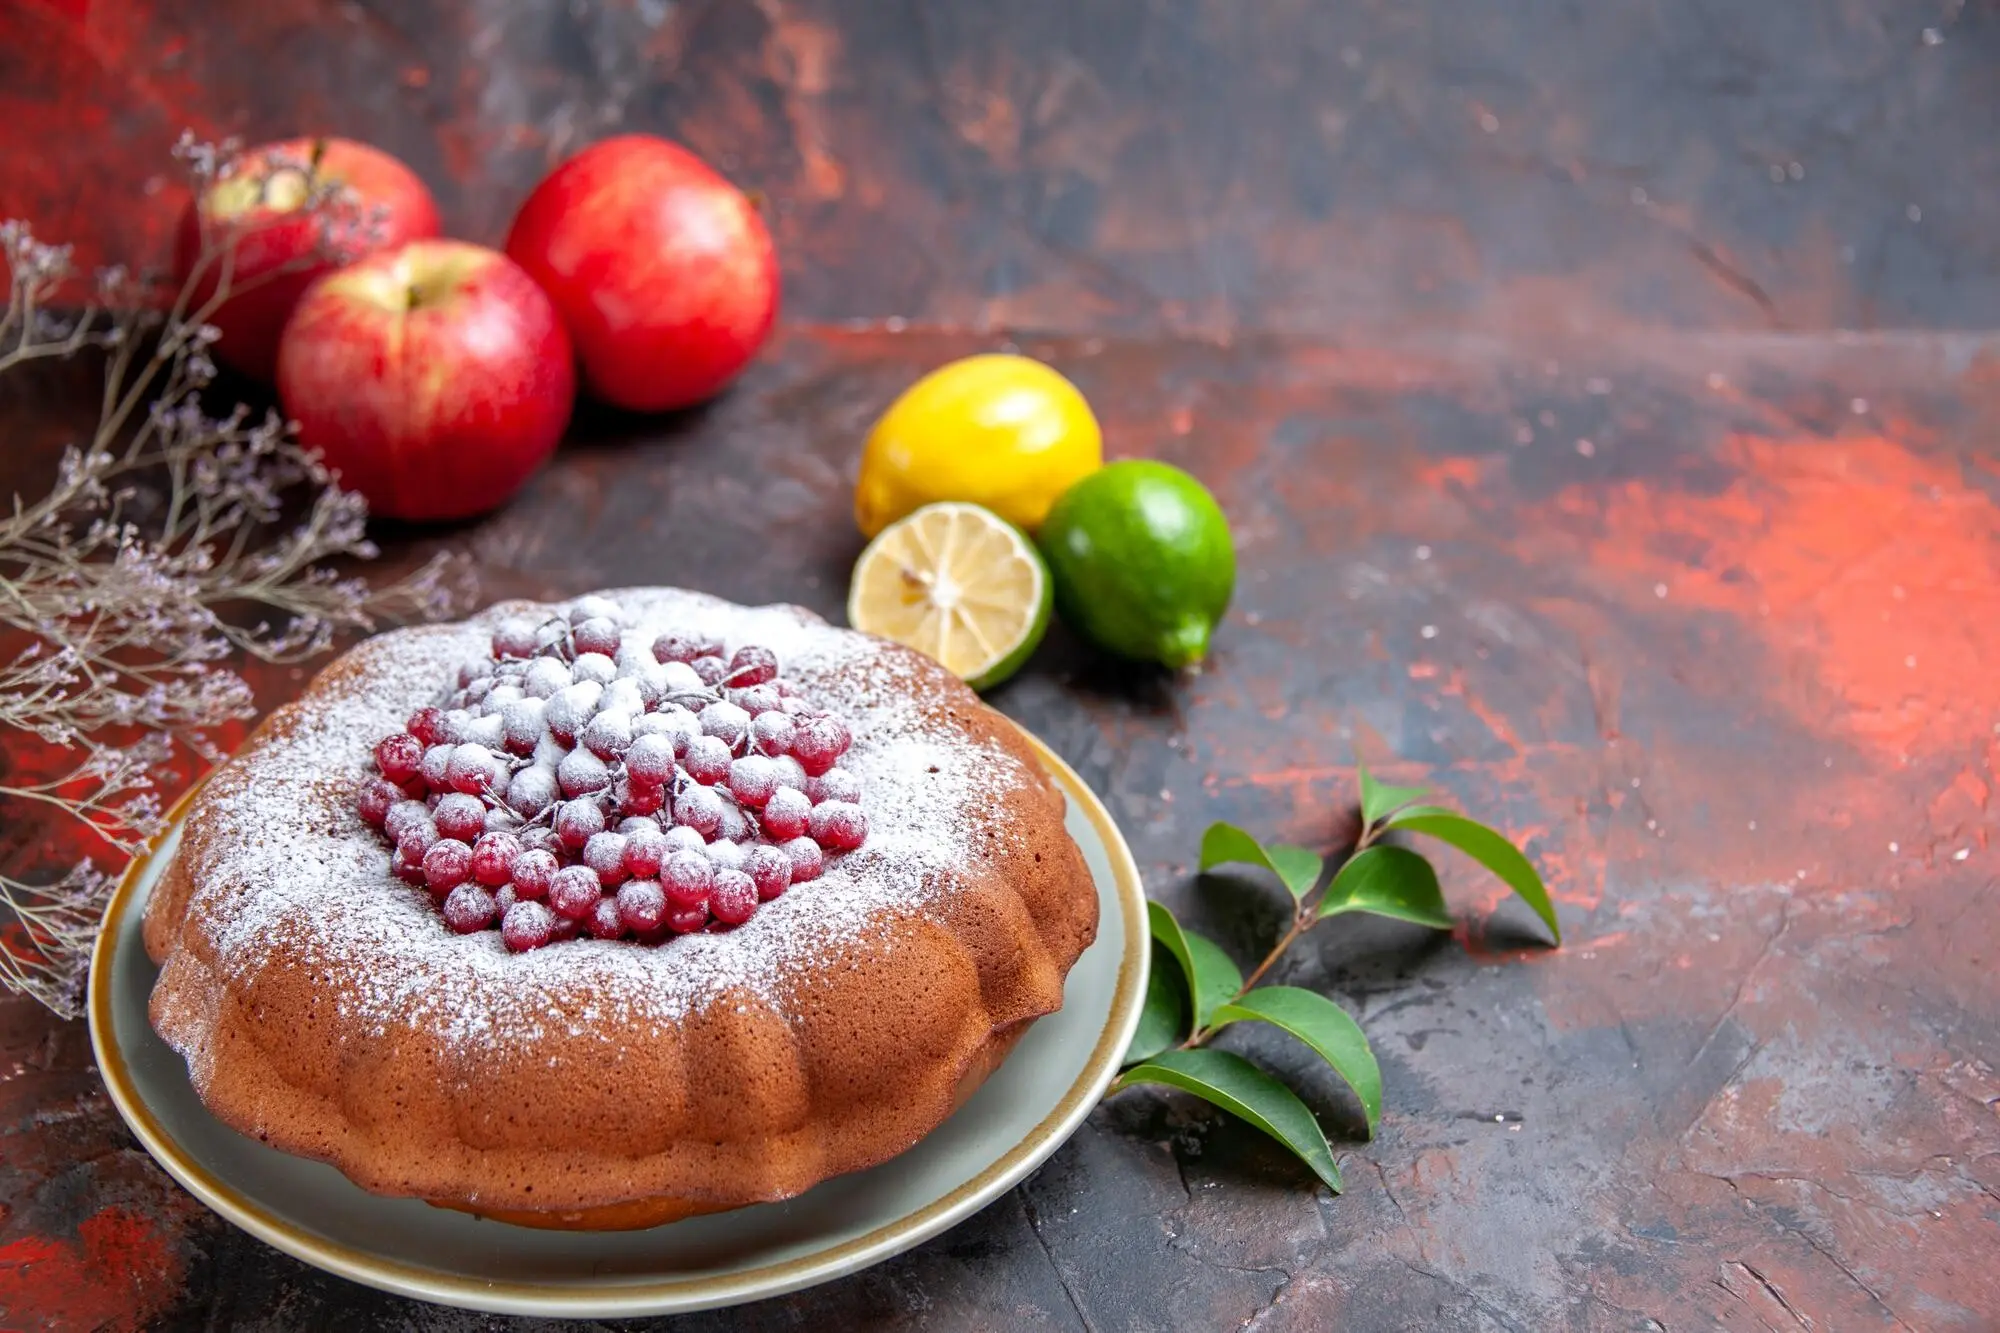
Frosting Sheets vs Wafer Paper
Frosting sheets, sometimes called icing sheets, are thicker, more opaque, and melt seamlessly into fondant or crusted buttercream, producing saturated images and smooth edges. Wafer paper, made from potato starch, water, and oil, is lighter, crisp, and perfect for petals, sails, and airy overlays. Choosing wisely ensures your design prints clearly, flexes appropriately, and tastes pleasantly neutral.
Printers, Inks, and Safe Handling
Use a dedicated inkjet printer loaded exclusively with FDA-compliant edible inks and stored cartridges to avoid contamination. Never swap edible and regular inks or share paper paths with standard printing. Keep nozzles clean, print a test swatch weekly, and store sheets flat in zip bags with silica packets. Gentle, food-safe handling protects both flavor and vibrant color fidelity.
Adhesives, Sealers, and Finishing Sheens
Piping gel gives secure tack without pooling, while light corn syrup or edible glue bonds fine cutouts. For wafer paper shaping, mist with high-proof clear alcohol instead of water to avoid melting. Seal delicate pieces with thin cocoa butter or confectioner’s glaze for humidity resistance, and finish with edible luster or glaze spray for a professional, camera-ready sheen.
Planning Artwork That Prints Cleanly
Design at 300 DPI, keep fine typography above 7–8 points, and favor bold, high-contrast palettes. Test-print swatches to evaluate skin tones and dark gradients. Add a subtle keyline around complex silhouettes to hide tiny cutting imperfections. Consider how borders, textures, and negative space will translate once placed over buttercream ridges or fondant seams, maintaining clarity and elegance.
Color, Contrast, and Bleed Control
Calibrate your screen, then build color using CMYK-friendly hues to avoid dull surprises. Provide 3–5 millimeters of bleed to protect against micro-shifts while trimming. Reserve bright whites for frosting sheet highlights, not wafer paper translucency. If shadows appear muddy, lift midtones slightly and sharpen edges modestly. The goal is faithful reproduction under bakery lights and smartphone cameras alike.
Cropping, Cutting Paths, and Registration
Create vector cut paths wherever possible, and include small registration marks outside final artwork for alignment. Use a sharp craft blade or precision scissors, replacing blades often. For circular toppers, a punch cutter ensures consistency. Keep hands dry and dusted with cornstarch to prevent smears. Neat, predictable trimming accelerates assembly when orders stack and timing tightens.
Design That Prints Beautifully
A striking cake begins with artwork tailored to edible media: crisp contrast, readable scale, and considerate edges that cut cleanly. Plan for slight ink spread, avoid neon tones that cannot reproduce accurately, and leave bleed margins. Align design elements with cake architecture so every slice carries a little story while your hero image remains undistorted, centered, and brilliantly legible.
Perfect Adherence on Fondant Surfaces
Lightly brush fondant with piping gel for tack without pooling, then position the image starting from one edge. Press with a soft smoother, easing bubbles toward the border. If corners lift, dab minimal gel beneath and re-seat. Allow time to settle before adding borders or pearls so the frosting sheet relaxes, bonds, and looks naturally integrated instead of placed.
Smooth Results on Buttercream Cakes
Chill the cake until the buttercream crusts but remains slightly pliable. Mist the back of the frosting sheet with a tiny bit of water or alcohol if needed, not the front. Align carefully and press from center outward. Warm hands can soften buttercream inconsistently, so use tools, not palms. A delicate bead border hides edges while elevating the finished presentation.
Troubleshooting Wrinkles, Tears, and Silvering
If the print develops wrinkles, warm it gently between parchment sheets to relax. For tiny tears, overlay a coordinating motif like a ribbon banner. Silvering—dull, reflective patches—often means poor contact, fixable with careful pressure or a micro-dot of gel. Keep silica gel nearby, and avoid refrigerators that cycle humidity, which invites bubbles, peeling, and color migration.
Sculpting Dimensional Wafer Paper
Wafer paper loves a hint of moisture and a kiss of heat. With controlled conditioning, it curls, ruffles, and blooms into petals, sails, and butterflies that weigh almost nothing yet command attention. Learn shaping strategies, safe supports, and coloring methods that resist wilting, so your creations hold form through transport, toasts, and the warm spotlight of celebration candles.
Advanced Edible Artistry and Mixed Media
Isomalt Windows and Wafer Paper Inlays
Cast thin isomalt panels and trap wafer paper motifs between layers for stained-glass brilliance. Keep heat low to protect color, and edge-seal for clarity. Mount panels with tempered chocolate or isomalt blobs hidden behind design features. The interplay of transparency and matte fibers feels couture, elevating celebration cakes and drawing phones from pockets before the candles are lit.
Cocoa Butter Transfers on Chocolate
Print onto transfer sheets or paint cocoa butter designs, then apply to tempered chocolate plaques for crisp graphics with a glossy snap. Attach plaques to cakes as medallions or borders, pairing printed frosting sheets above. The marriage of shine, color, and clean geometry guides the eye, frames messages beautifully, and adds satisfying bite contrast against pillowy buttercream.
Layering, Shadowing, and 3D Illusions
Stack multiple frosting sheet cutouts using micro-dots of royal icing to float pieces just above the surface, creating soft shadows. Interleave wafer paper ribbons for movement and depth. Aim directional highlights with luster dust to mimic stage lighting. This subtle theater of layers transforms flat prints into storytelling scenes, inviting guests to lean close and discover quiet details.
Storage, Transport, and Climate Control
Great decoration must endure real life: humid kitchens, bumpy roads, and hot venues. Plan for climate by conditioning materials, boxing thoughtfully, and timing placement close to service. Use desiccants, chill strategically, and avoid condensation traps. With a calm checklist and tested routines, your prints stay sharp, petals upright, and every reveal feels effortless, professional, and celebratory.
Inspiration, Stories, and Community Challenges
Creative growth thrives on shared experiments and honest notes. We’ll trade mini-victories, like the first wafer butterfly that finally held its curve, and laugh about gel fingerprints learned the hard way. Post your latest print, ask questions, suggest challenges, and subscribe for prompt templates, color charts, and seasonal palettes that turn weekend practice into polished, portfolio-ready showpieces.
The day a summer storm rolled in, a delicate sail began to sag, until a quick cocoa butter brush and dehydrator rescue saved the silhouette. Stories like these decode emergencies into checklists, reminding us that calm preparation, gentle heat, and tested adhesives outshine panic every time, especially when a birthday countdown is loud and very, very real.
Each month, download a free template, share your interpretation, and tag progress photos from sketch to slice. We celebrate clever fixes, not just perfect outcomes. Expect feedback on color balance, cut precision, edge treatments, and adhesive choices. Collective practice makes tricky skills feel normal, and newcomers discover confidence faster with friendly prompts and low-pressure, sweets-first deadlines.
Bring printer hiccups, warped petals, and color-matching woes. We troubleshoot together, comparing humidity strategies, blade angles, and gel viscosities. Submit questions in advance, then join live or catch the replay. Your curiosity shapes future guides, checklists, and print-ready resources, building a supportive circle where every experiment becomes a stepping stone toward show-stopping, edible artistry.
All Rights Reserved.