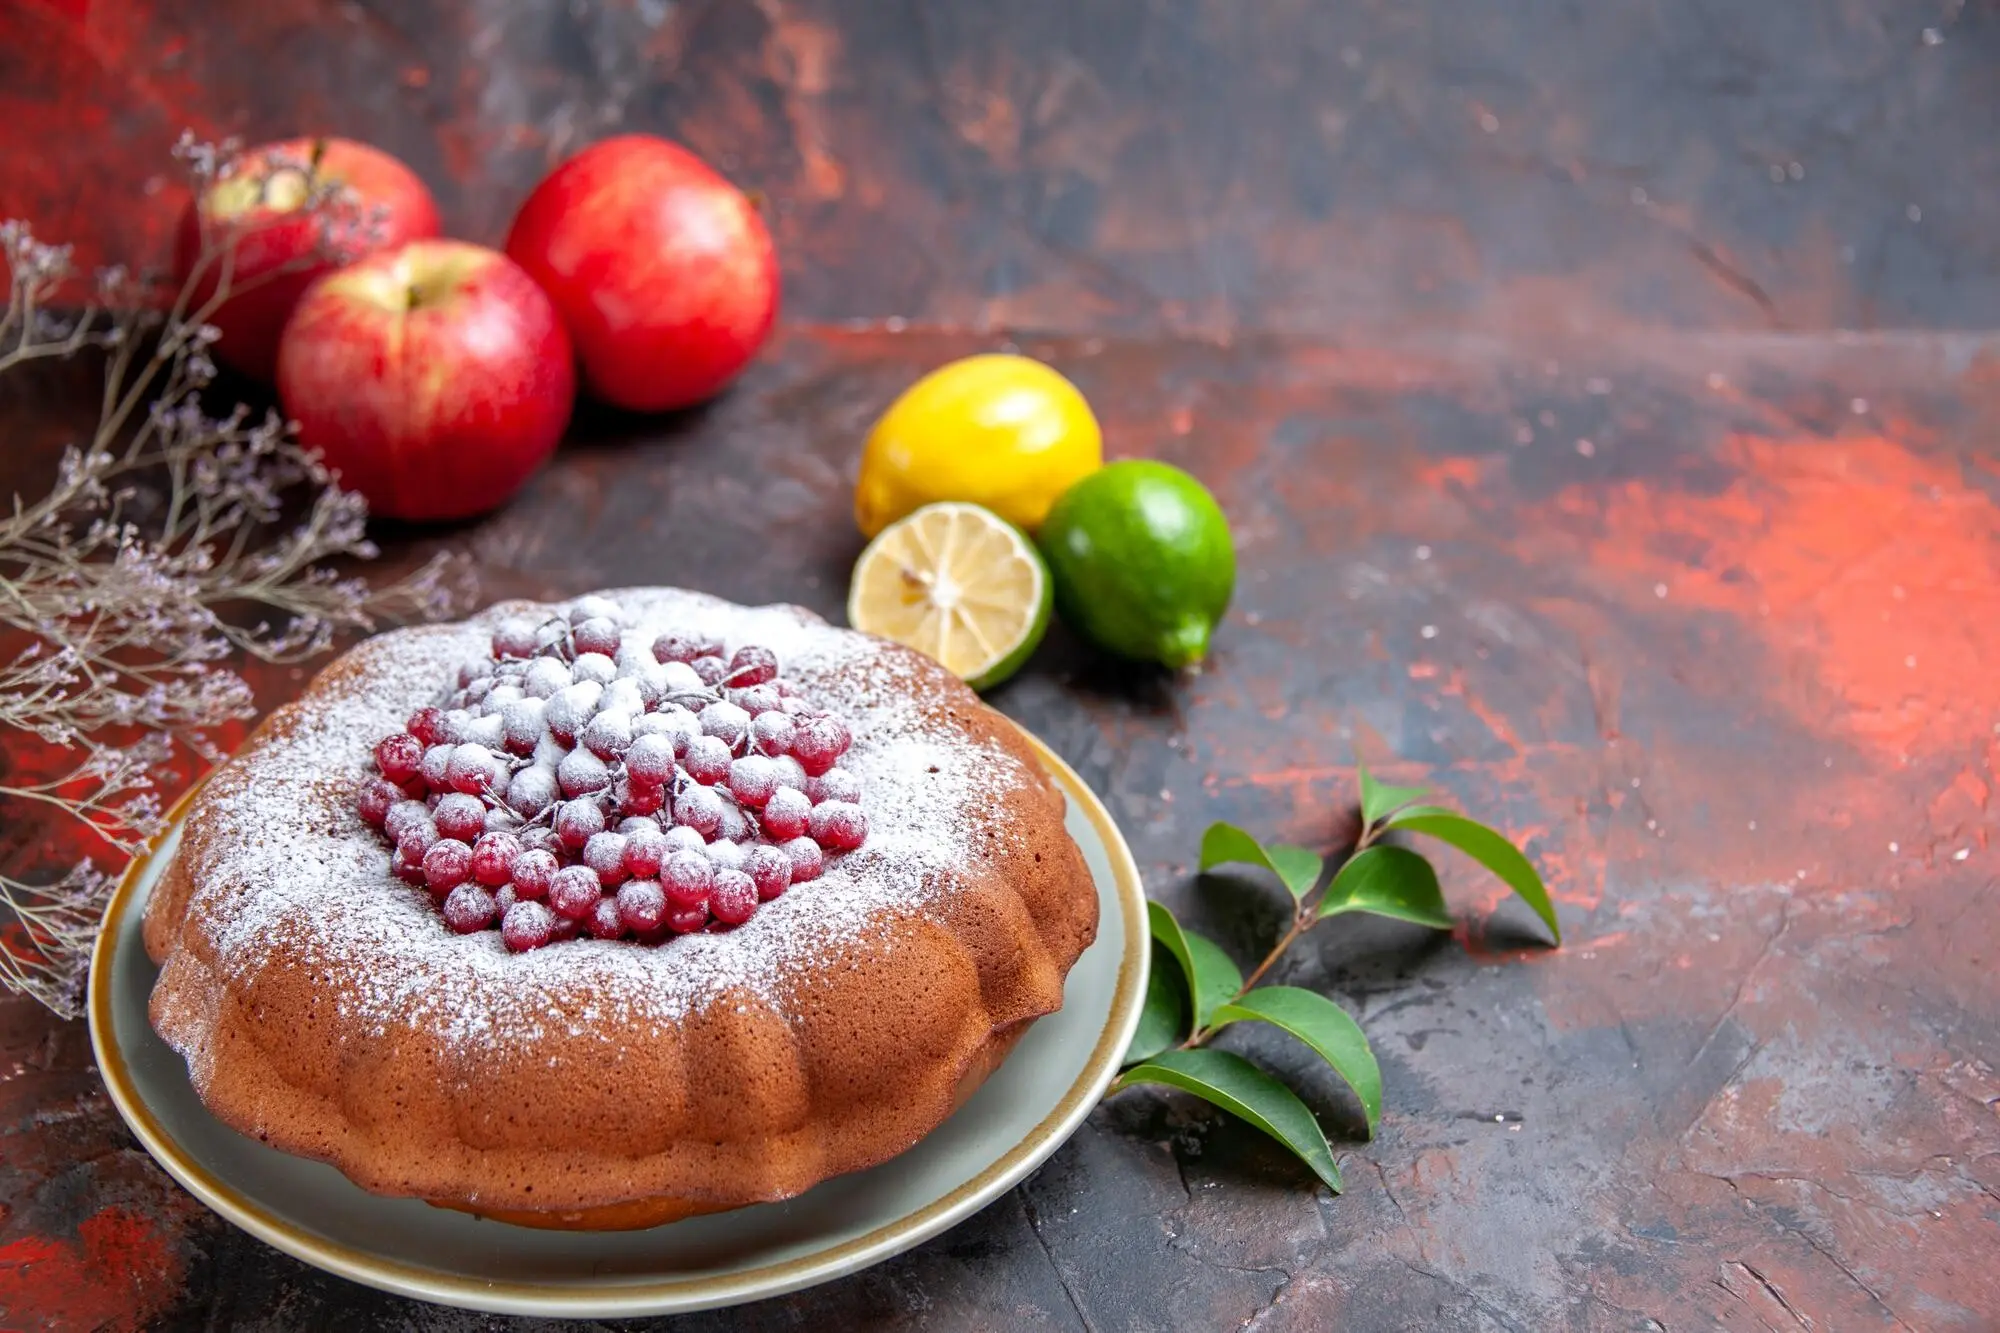
Sculpting Sweet Details: Fondant and Chocolate Cutouts

Today we dive into fondant and chocolate cutouts using cutters, molds, and embossers, transforming simple sheets and tempered slabs into crisp leaves, lace, medallions, and playful silhouettes. Learn shop-tested techniques, hear practical stories, and gain confidence for celebration cakes, petit fours, and candy favors. Bring curiosity, a rolling pin, and an offset spatula; we will practice and experiment together. Share questions, photos, and results as you master precise edges, clean releases, durable textures, and finishes that travel safely from kitchen bench to dazzling dessert tables.

Materials and Toolkit Foundations

A dependable toolkit unlocks dependable results. Understand the differences between metal and plastic cutters, silicone and polycarbonate molds, and single-press and patterned embossers. Explore fondant, gum paste, and modeling chocolate, plus when cocoa powder, cornstarch, or confectioners’ sugar prevents sticking. Consider food-safe brushes, veiners, ball tools, and smoothers. With a calibrated rolling pin and guides, plus parchment, acetate, or textured mats, you can prepare consistent surfaces. A few quality tools, correctly chosen and cared for, outperform crowded drawers and uncertain substitutes every time.

Rolling, Tempering, and Conditioning

Before any cut or impression, prepare the medium with intention. Roll fondant evenly using spacer guides so embossers contact consistently. Allow gum paste to rest briefly, reducing elasticity that distorts silhouettes. For chocolate, temper with accuracy to prevent bloom and ensure strong cutouts that release cleanly. Condition modeling chocolate by kneading gently until pliable but cool. Manage room humidity, warmth from hands, and dusting balance. These small controls compound into dramatic improvements, turning inconsistent attempts into repeatable excellence suited to clients, competitions, and treasured family celebrations alike.

Cutting, Demolding, and Edge Perfection

Precise handling turns good work into exceptional work. Apply steady pressure with cutters, then micro-wiggle instead of twisting to avoid distorted edges. For molds, dust or chill as needed, flexing silicone gently while supporting fragile projections. Time your lift: release when structure can carry its own weight but remains slightly pliable for gentle adjustments. Finish edges with a fine scalpel, soft brush, or microplane. Those invisible refinements photograph brilliantly, survive packaging, and persuade clients their keepsake decorations were crafted with deliberate, careful artistry rather than hurried routine.

Pattern Alignment and Registration

Mark light guide lines on parchment or acetate so repeats meet cleanly across larger panels. For rolling embossers, start slightly off the edge to avoid abrupt entries, then maintain pressure while tracking a centerline. When layering cutouts, align recurring motifs—like chevrons or lace scallops—so intersections feel intentional instead of accidental. Photograph a quick mockup to confirm rhythm before committing. This careful alignment harmonizes textures, ensures continuity around cake tiers, and creates that satisfying moment when guests trace their fingers across perfect seams, surprised by invisible, meticulous planning.

Pressure, Depth, and Repeatability

Treat pressure like a dial, not a switch. Practice on scraps to map the sweet spot where veining reads crisply without cracking delicate edges. For production, count seconds of contact or standardize roller passes to replicate results across batches. Rotate sheets between impressions so fibers relax uniformly. If depth varies, subtle highlights disappear under luster or glaze. Repeatable technique supports consistent sets for favors, ensures matching toppers for multiple tiers, and reduces waste. The confidence of predictable depth invites bolder designs, layered assemblies, and comfortable delegation to trained assistants.

Coloring, Dusting, and Metallic Accents

Color with intention. Knead gel colors into fondant for solid hues, then add dimension using dry luster dusts or diluted cocoa butter paints to shade leaves, petals, and architectural lines. Reserve metallics for selectively raised details so they sparkle without overpowering composition. On chocolate, use fat-dispersible pigments and tempered cocoa butter for adhesion and sheen. Always test a small piece to confirm finish survives handling and packaging. Layered color work elevates simple cutouts into refined ornaments, delivering drama under ambient light and elegance under camera flashes at evening celebrations.

Projects, Stories, and Inspiring Applications

Translate technique into memorable desserts through small, achievable projects. A home baker once shared how leaf molds and a gentle gold dust saved a late-night autumn wedding cake, turning panic into poetry. Another client’s corporate event relied on embossed chocolate medallions to echo branding without fondant-heavy designs. These successes grew from modest tools, practiced timing, and steady hands. Use these outlines as springboards, adjusting shapes, colors, and textures to match seasons, personalities, and venues while keeping production friendly for real schedules, budgets, packaging, and safe delivery windows.

Troubleshooting, Storage, and Community

Challenges happen; preparedness wins. Sticking, cracking, stretching, and chocolate bloom can derail schedules, yet each has methodical fixes. Control humidity with desiccants, stabilize chocolate by honoring its temper curve, and store fragile cutouts with supports that protect relief. Create labeled boxes with silica packs, nonstick layers, and spacing to preserve finishes. For transport, pre-plan anchors, bring emergency tools, and budget quiet minutes for on-site touch-ups. Share outcomes with our community, subscribe for technique deep-dives, and post your progress; your experiences help everyone refine craft and confidence.

Solving Sticking, Cracking, and Stretching

If pieces stick, reduce moisture and dust more strategically, switching from sugar to cornstarch or cocoa depending on medium. When fondant cracks, knead in a touch of shortening or add glycerin for elasticity. To prevent stretching during transfer, support with thin acetate and move decisively. Warm hands can soften edges, so pause, cool, and resume. Keep backup sheets ready to avoid overworking tired doughs. Document environmental conditions—room temperature, humidity, and timing—so recurring issues gain predictable remedies rather than frantic, last-minute improvisations that compromise precision and finish.

Preventing Bloom and Warping

Chocolate bloom signals unstable crystals or temperature swings. Respect the temper curve, use accurate thermometers, and avoid refrigeration bursts that condense moisture onto surfaces. Store set pieces between parchment at 60–68°F with low humidity, away from sunlight and fragrant foods. For fondant or gum paste, prevent warping by drying on flat supports or curved forms that match intended shapes. Rotate trays for even airflow, and never stack until fully set. These diligent habits defend shine, snap, and geometry, ensuring finished decorations look pristine at delivery and throughout service.

Share, Subscribe, and Continue Learning

Join our practice challenges and post photos of your fondant and chocolate cutouts made with cutters, molds, and embossers. Ask questions, compare techniques, and celebrate wins. Subscribe for weekly drills, pattern templates, and sourcing tips. We will feature standout projects, crediting makers and linking to their pages. Suggest tools to test, share honest reviews, and vote on upcoming experiments. Collective iteration accelerates mastery, transforming isolated attempts into a supportive cycle of feedback, steady improvement, and beautiful desserts that carry your signature flourish into every client memory and milestone.
Kavisavixarilumatunotelilori
Privacy Overview

This website uses cookies so that we can provide you with the best user experience possible. Cookie information is stored in your browser and performs functions such as recognising you when you return to our website and helping our team to understand which sections of the website you find most interesting and useful.